DAPOL CLASS 08 (FIN)
'O' Gauge 'Gronk' recalls the late-1980s era.
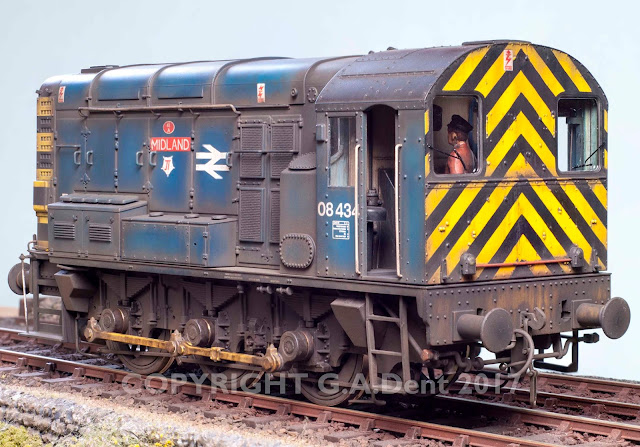
Those of you who have already seen the latest issue of Model Rail (MR237) will have seen the finished results of my project to modify, repaint and weather one of Dapol's superb Class 08s. Here are a few images of 08434 anyway, as I'm as proud of this model as I am of any of my previous efforts. Constituting my first real foray into serious loco detailing/modifying in 7mm scale, it proved to be great fun and a very rewarding challenge.
The view above shows the side where most of the work was centred, in the removal of a forward equipment box and re-building of the bonnet-side doors, along with the removal of strap hinges and fabrication of new hinge detail and locking handles. The cab front also needed work, with the central lamp boxes and conduit removed, holes filled and the 'wasp' stripes repainted.
The choice of number and the addition of unofficial, painted-on Midland names places the loco at Tinsley Shed (near Sheffield) in the late 1980s. The decals were produced by Railtec and help to give the 'Gronk' a distinct character.
I'm often asked about what airbrush equipment I use when working in different scales. The answer is usually the same as when I'm working in my usual 4mm scale. With 'O' gauge, it simply takes a bit longer to cover the larger model!
A good compressor is essential, though, as the airbrush will be working for longer and the last thing we need is the unit having to shut down for an enforced rest mid-painting. My Iwata Smart Jet Pro has been proving its worth over the last year or two. Despite not having an air tank, it proved to be up to the job of painting and weathering this small 'O' gauge model.
As for the airbrushes, the priming coats were sprayed through an Iwata Revolution CR (0.5mm needle/nozzle combo), which emits a nice, ample spray pattern to cover a larger surface, while also being simple to clean out afterwards (the heavy pigments of primers demand greater cleanliness). If I'd been painting a generic livery application, the CR would have done for the blue coats too.
However, as explained in an earlier post (and in MR237), the blue was built up in various high- and low-light shades, following the contours and detail on the bodyshell. With greater precision required, an Iwata HP-CH (with 0.3mm nozzle) proved more suitable, allowing full control over the paint flow. The airbrushed element of the weathering process was also achieved with the HP-CH, using Tamiya acrylics.
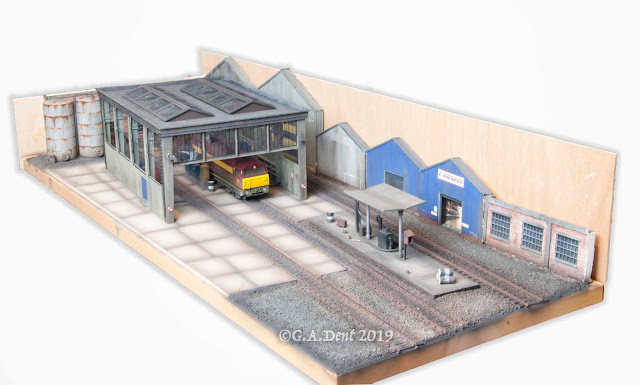
Next up, as far as 'O' gauge is concerned, is to build a new Heljan modular diesel depot kit...




Comments
Post a Comment