HAA HOPPERS

Whilst working on a couple of recent projects involving the need for realistic 'metal' finishes, I've been making use of the splendid range of Alclad2 paints and lacquers. Great for recreating the look and texture of various unfinished materials - such as steel, aluminium, copper and brass - they are probably the best metallic paints around. Happily, they're not expensive but they do have to be applied by airbrush only. I have tried brushing them by hand, but unsuccessfully.
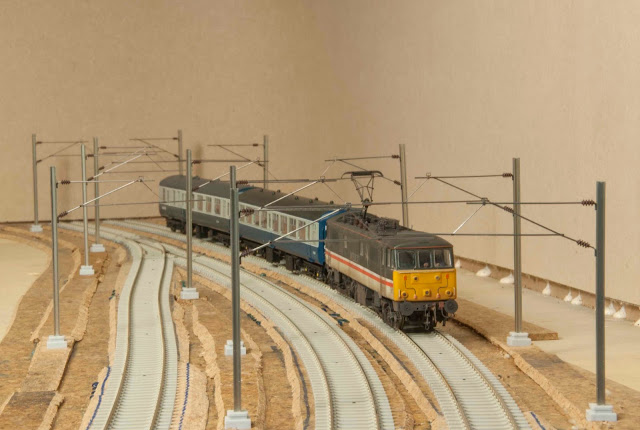
Anyway, one of the projects in question has been my quest to assemble a late 1970s-early 80s-era rake of HAA merry-go-Round hoppers for my colliery layout, using the Hornby model as a basis. They're not available in this condition at the moment, so I've been removing lots of top cowlings and converting the odd CDA derivative with the extra bits and bobs added. Basically, I've been picking up whatever models I can find at the cheapest price, regardless of livery or fittings, as they're all destined for stripping and repainting into a more realistic livery.

The newly painted and weathered hoppers have received a coat of Alclad2 'Steel' which is much more authentic than the shiny Hornby factory finish.
With just a few left to treat, my short rake (8 wagons) is almost complete. I'm just debating whether to replace all the buffers: the Hornby sprung units are nothing like the prototype's Oleos but, as my layout requires lots of propelling movements over short radius points, I'm loathe to introduce solid castings in case it causes derailments, what with scale couplings being used... there's also the cost to take into account... I think a trial run on a single wagon may be in order.
 The raised panels on the sides have been picked out in a lighter shade of Alclad2 - 'Semi-matt Aluminium'. The contrast looks stark here but will be toned down with careful weathering.
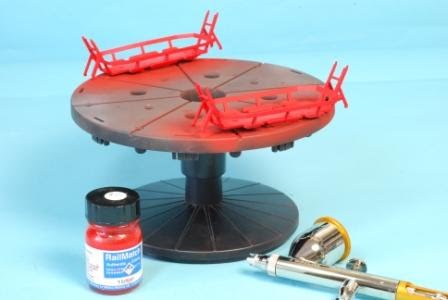 The steel hopper framing has been treated separately. primed in white and sprayed with Railmatch's vibrant 'Railfreight Red'.
 The hoppers, framing and chassis were weathered separately to make sure that the paint reached all the nooks and crannies unhindered before reassembly. The finished models look more realistic, but I'm just not sure about the un-prototypical buffers. I've also got a few bags of Instanter scale couplings to fit in place of the tension locks...


Comments
Post a Comment