HORNBY TROUT HOPPERS (2)
After loading up my fleet of new Hornby Trouts, I decided to
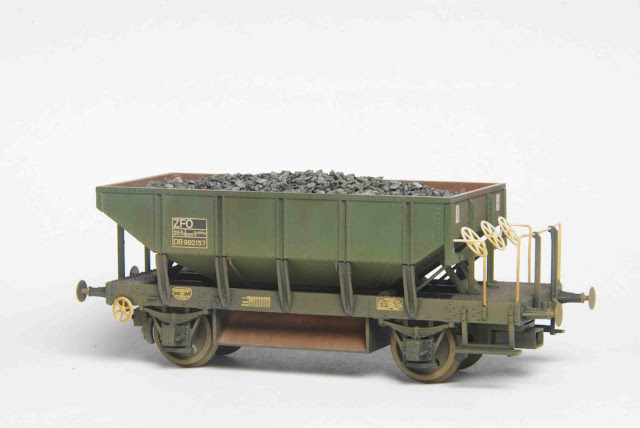
give them a lightly weathered finish. Despite some of the review samples that
we received being in factory-weathered condition, I wanted something a bit more
realistic than the uniform layer of light brown paint. A handful of weathering
powders is all that I used and each wagon took only about 20 minutes, so even a long rake won’t take long –
just the thing for these dark December evenings…
 |
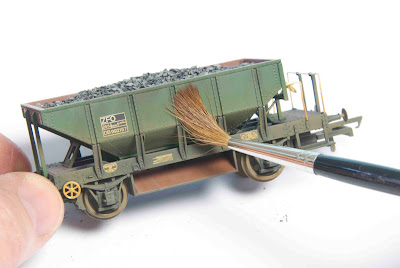
Once the ballast load had dried out completely, a mix of ‘rusty and dusty’ shades of MIG powder was applied to the exposed areas of the hopper interior. This also helps to disguise any stains left by excess glue. A soft-bristled flat paintbrush gives best results with powders.
|
 |
| For the hopper chutes, I wanted some distinct streaking effects, so Tamiya pigments – applied with a cosmetic sponge applicator – were used. A mix of ‘snow’, ‘light rust’ and ‘dark rust’ did the trick, using only vertical streaks to mimic the effects of stone being released from the hopper. |




Really good insight, thanks. Do you always seal the powders with MIG Pigment Fixer? I have found this fixer can sometimes leave a finish quite different from what I originally brushed on, despite airbrushing at low pressure. Thanks.
ReplyDeleteHi,
ReplyDeleteThanks for the comment.
I only use the MIG Pigment Fixer if I'm applying really heavy amounts of powders, such as the Presflo cement wagon that features in the latest Model Rail DVD ('Creative Modelling'). And, yes, it does change the appearance, toning down the effect slightly. When the fixer has dried, you can add more powder or pigments, building up the effect gradually and sealing again if necessary. However, I find that the powders adhere really well after a coat of the fixer has been applied.
For the Trout wagons here, the powders were used fairly sparingly, so the Fixer wasn't needed.
Cheers,
George.